

Building a Rocker Bogie Rover, Part II
I know that everyone has been dying to hear about my success in building a rocker bogie rover that I wrote about last March. This project has consumed way too much time since last winter, but I now have a working rover that largely does what I intended it to do.
My rover was not based on a kit or plans; it was designed in Autodesk's Fusion 360 based on pictures of actual rovers like Perseverance that landed in Mars’ Jezero Crater last February 18. It was originally planned to look like this:
___STEADY_PAYWALL___
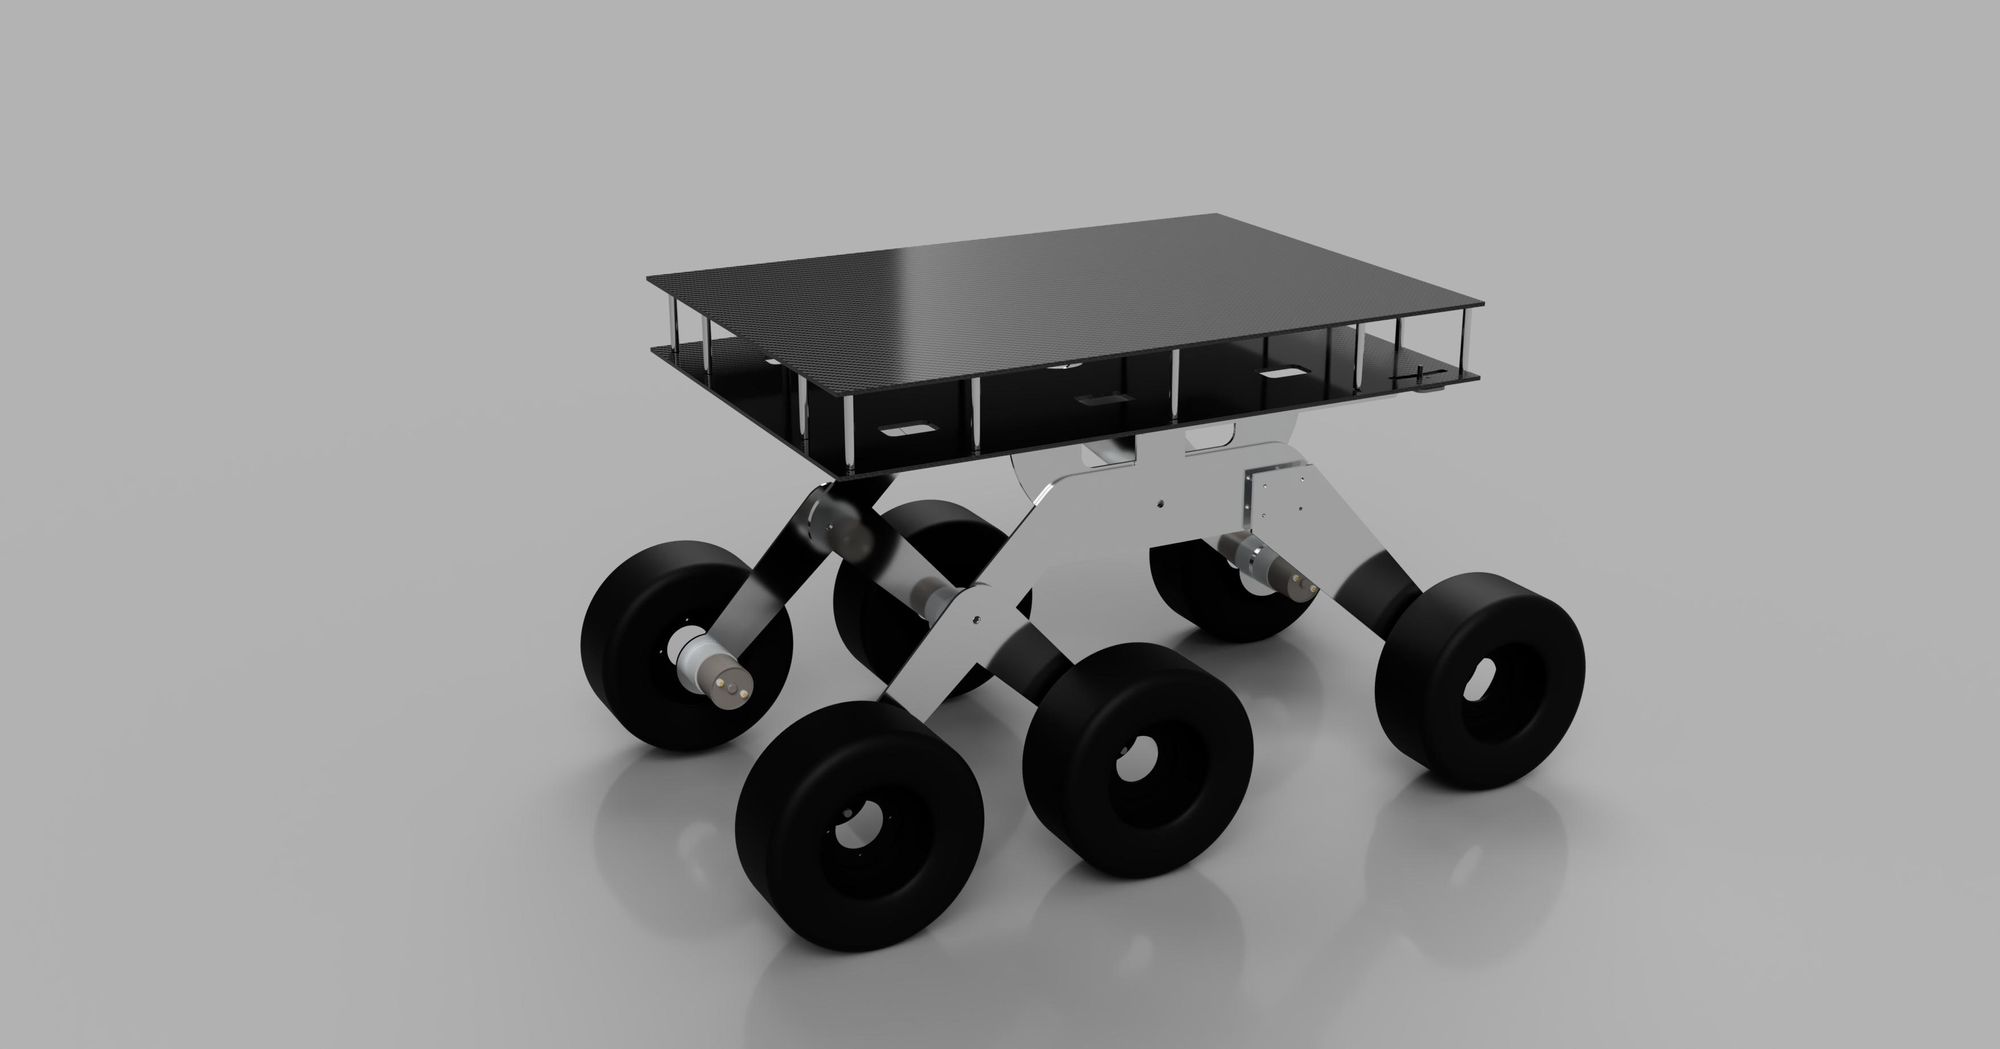
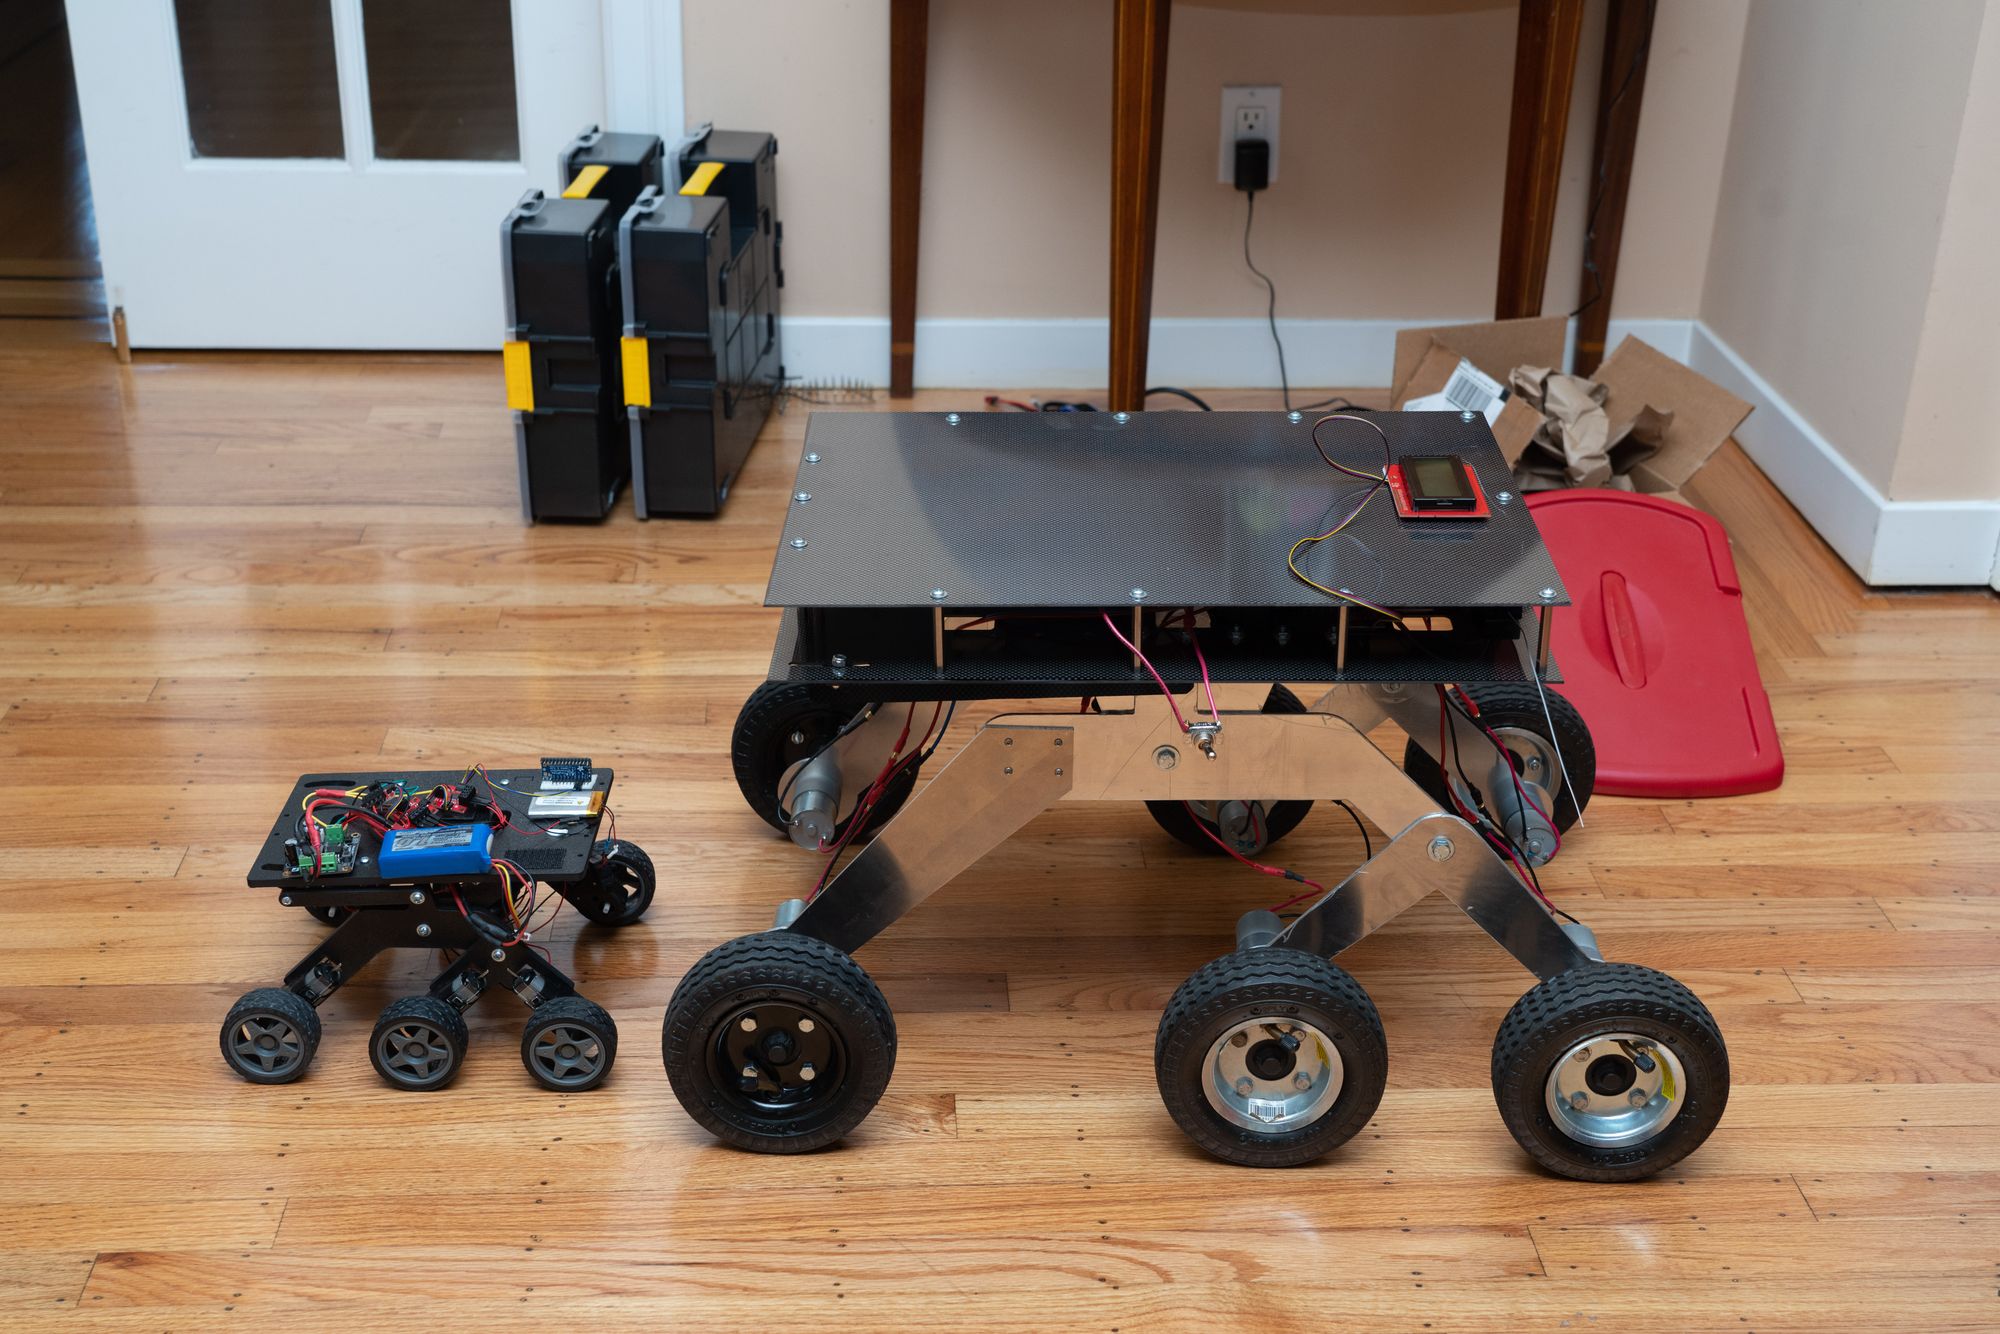
My machine used a rocker bogie suspension like NASA’s previous rovers, and would have a controllable mast with a camera that would send back video images of what the rover was seeing. The first version of the machine looked quite a bit like the Fusion 360 rendering:
In my original design, the drive system was built out of parts machined out of 1/8th inch thick aluminum sheet, which I cut out using a CNC machine. The gear motors driving each of the six wheels needed to be attached to a motor mount with a complicated hole pattern, which I could drill exactly by translating the Fusion 360 model parts into G-code.
I also bought a Creality Ender 3 Pro 3D printer, which I used to make the rover’s numerous plastic parts.
CNC mills and 3D printers are pretty much the same machine, except that one is subtractive and the other additive. The CNC mill moves a router along a 3-axis path governed by computer G-code and cuts into a block of metal; the 3D printer does the same thing with a heated print head that lays down a thin line of molten plastic and builds it up into a 3D object. In learning how CNC machines work, I rebuilt an old mill I acquired at the San Mateo Maker Faire back in 2011 using an Arduino and open source code. These machines are actually quite easy to construct with parts from sources like Open Builds.
The mast was built from a linear actuator controlled by an Arduino and a couple of servos. It needed to lift from a horizontal to a vertical position, extend upwards, and then rotate around its axis. I used a small first person view (FPV) video camera normally mounted on drones to send back video images to a receiver and LCD screen. The mast could be manipulated remotely with a Spektrum aircraft transmitter, while the drive system was controlled by a separate Arduino connected to a 30-amp motor drive.
The first version of the rover didn’t work very well. The basic problem was that the sheet metal legs were not stiff enough. I had to redesign the whole suspension using off-the-shelf parts from Servocity.com, abandoning the wheels I had saved from my last rover project ten years ago.
The current version has a stiffer suspension and works a lot better than the original one. As I kept adding features the wiring got way too complicated, and I managed to eliminate one of the Arduinos and consolidate all the control functions on a single transmitter.
There are several features I would still like to add. My son John made me a solar panel that I could mount on top of the rover to recharge its batteries, though I have been having trouble locating an appropriate LiPo battery management unit. And I could land a small drone on top of the rover, just like Perseverance.
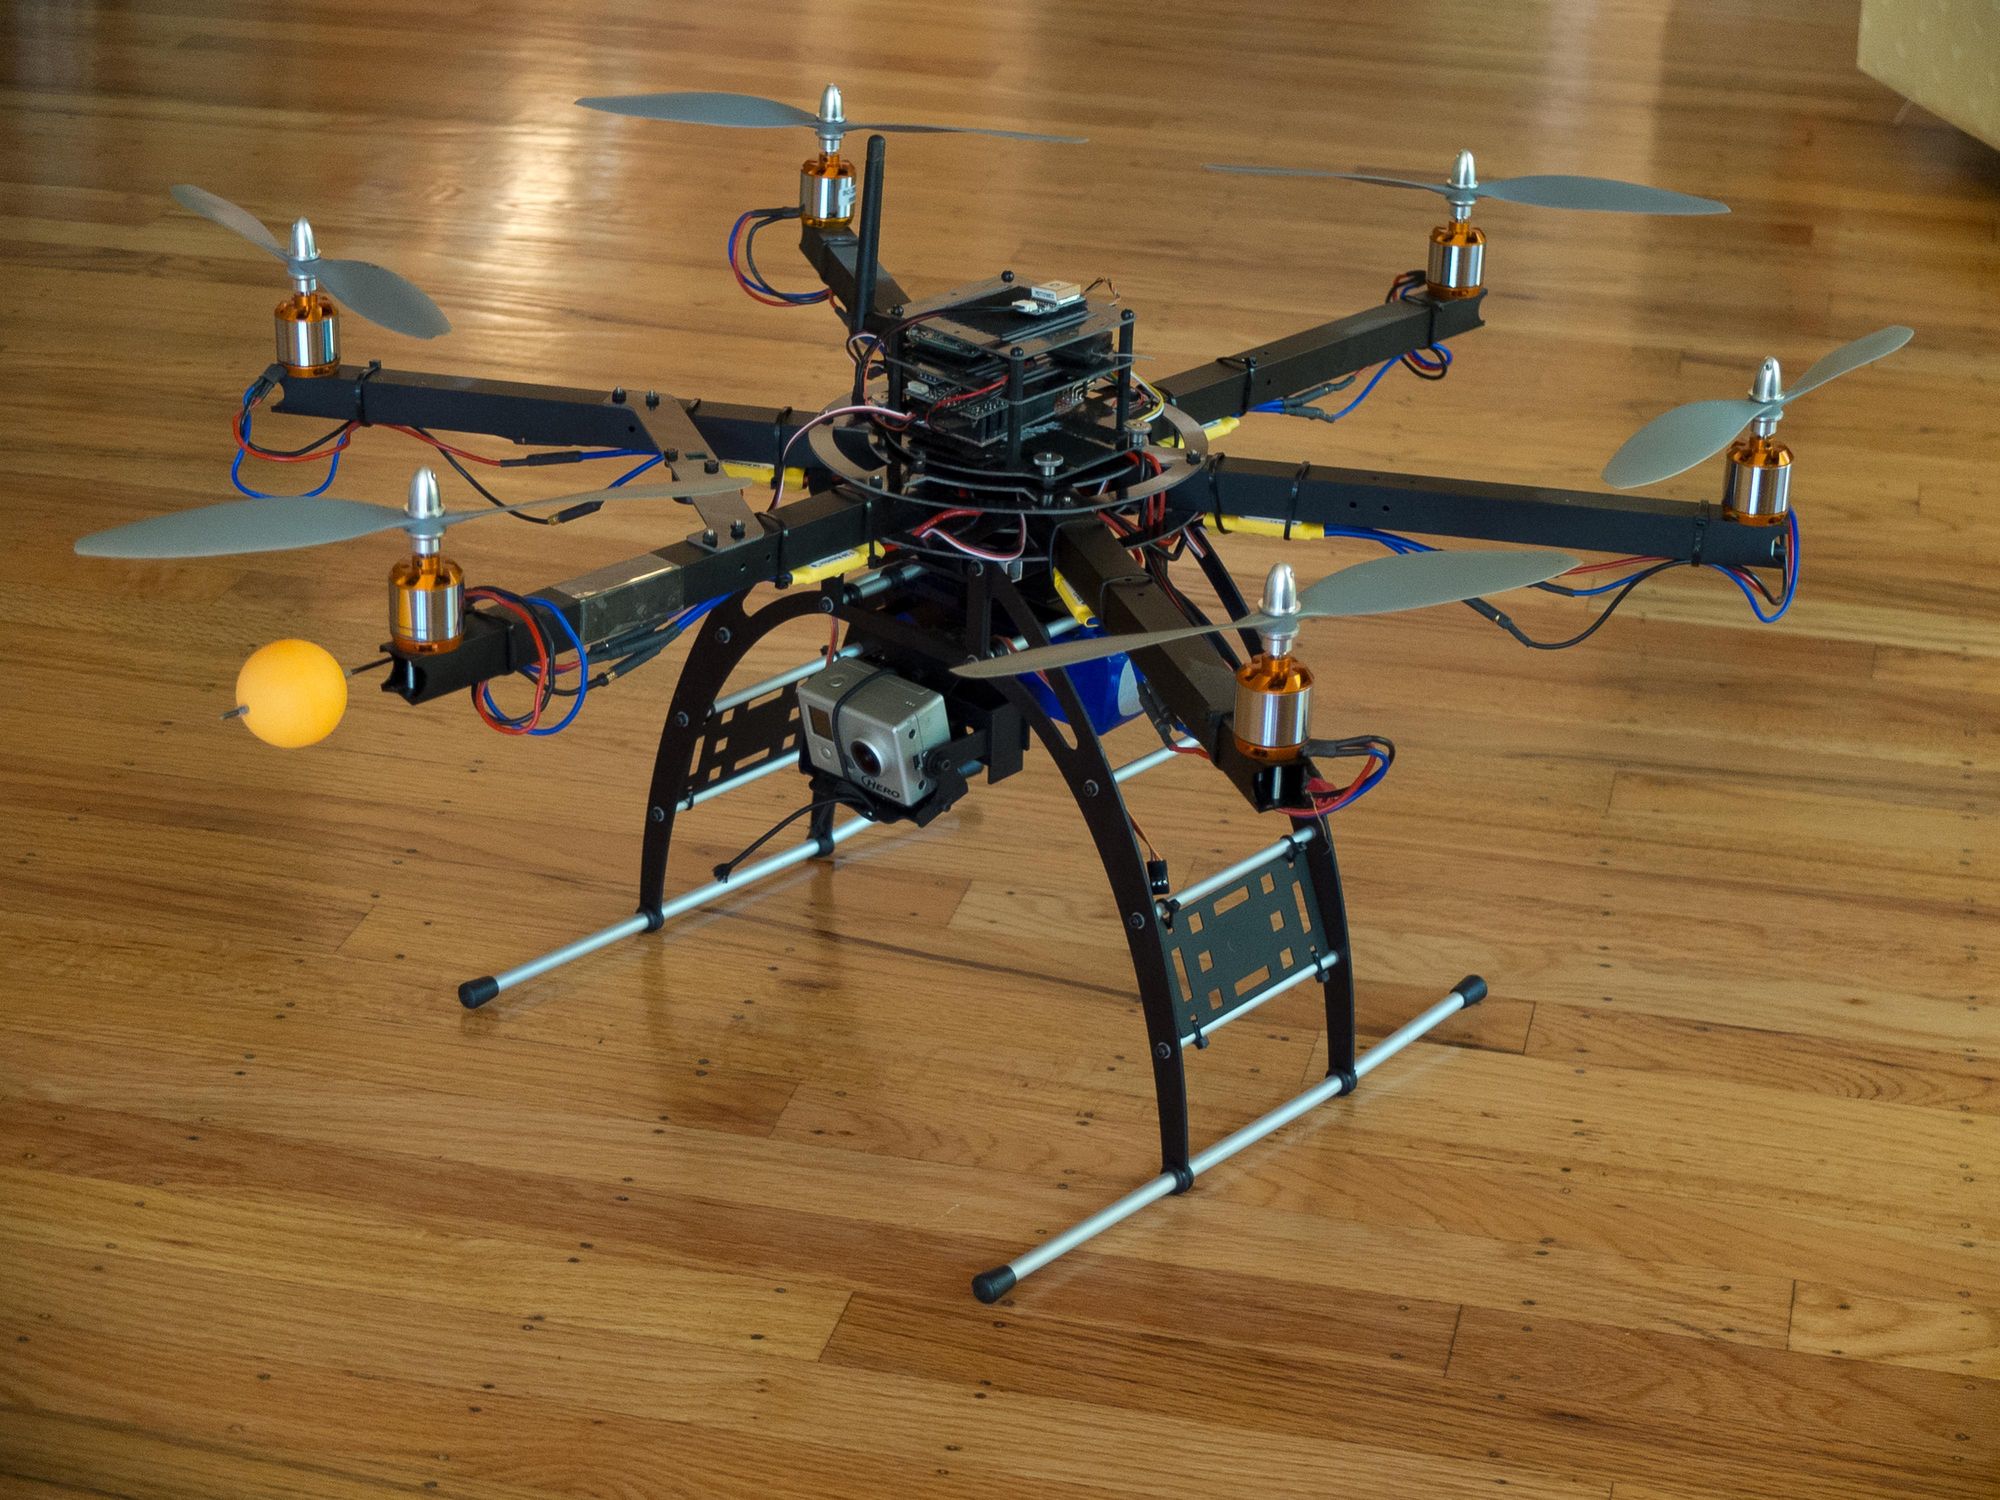
However, my current plan is to put the rover aside for a while and work on replacing the electronics in a couple of drones I built ten years ago. I stopped flying drones because I found it too stressful, but the technology has advanced a lot since then and I want to insert a Pixhawk flight controller into my old hexacopter. I will, of course, keep you updated.
American Purpose newsletters
Sign up to get our essays and updates—you pick which ones—right in your inbox.
Subscribe


